press sample
It's been quite awhile since I've posted here. As has been the theme of my life this past year, I'm just busy. With work and life and blogging has been the thing that gets pushed to the way side. The big thing recently? I MOVED! Yay! My husband and I bought our first home and I couldn't be more thrilled. We are so fortunate.
While it's been radio silence here for awhile, I have been sharing here and there on Instagram...but I'm hoping to get back to posting here as well. I miss the days of long explanations for why I'm doing what I'm doing ;)
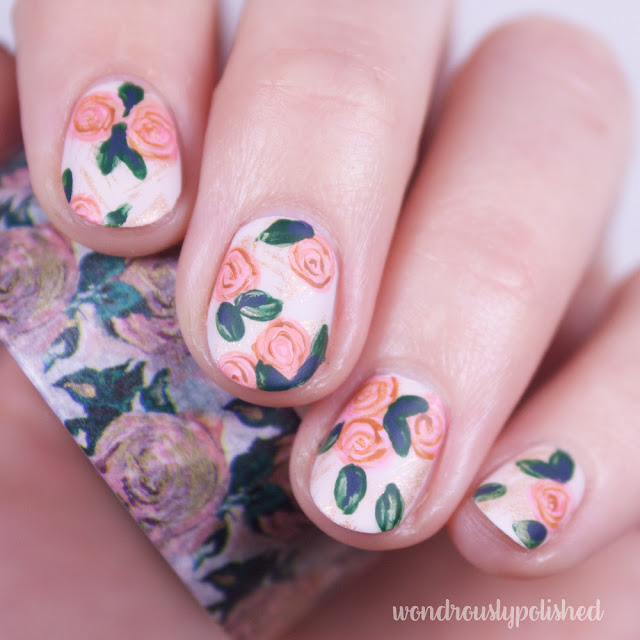
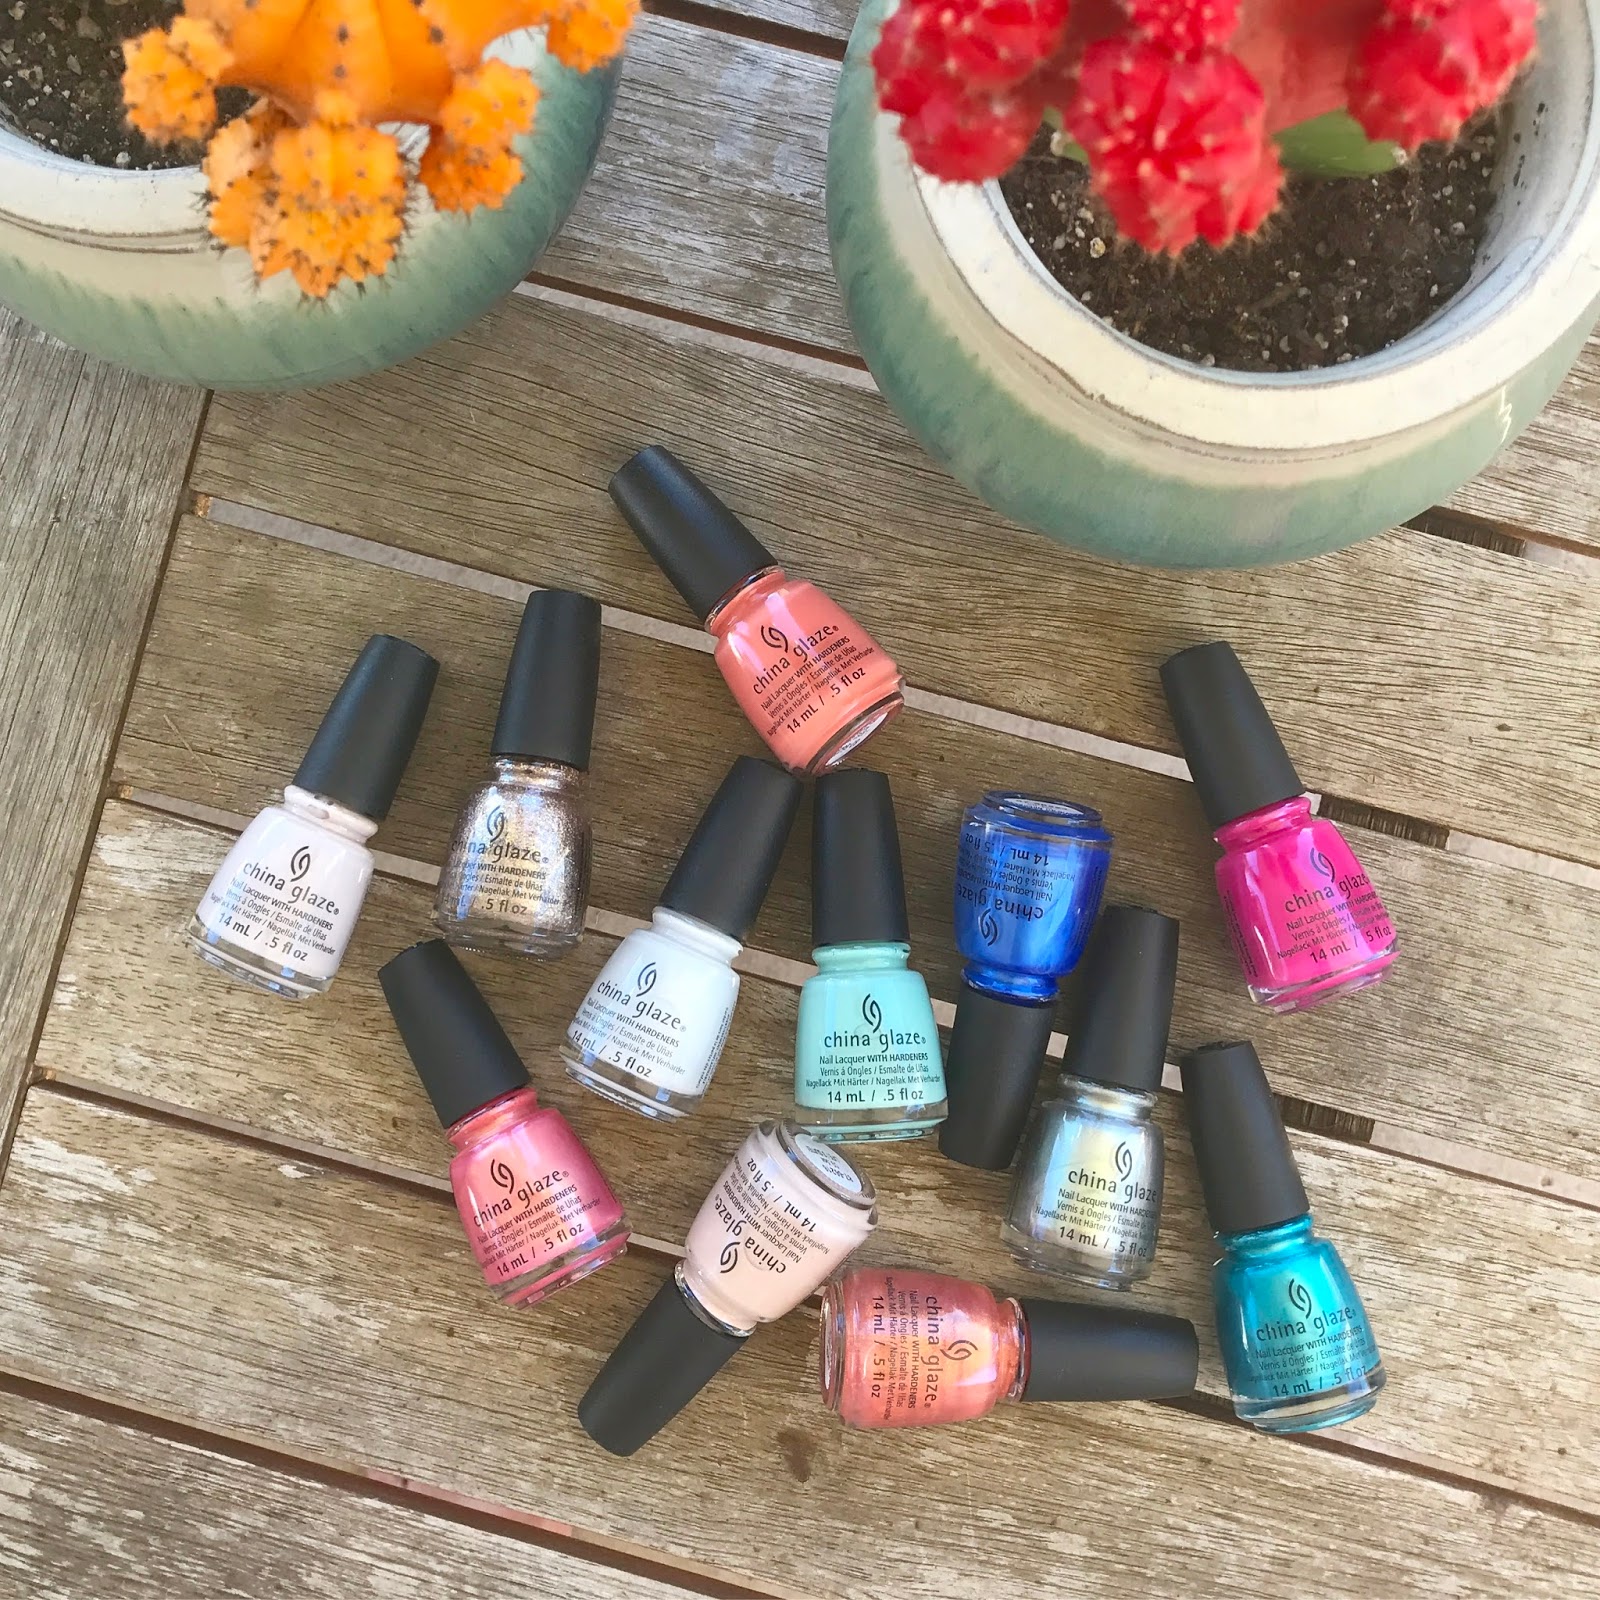
Today I've got another look inspired by The Planner Society Kit! You know how I love finding inspiration from washi tape, and Christy's kits are packed full of beautiful prints and patterns that I find so inspiring. This month's kit features pinks and rose gold florals and was lovely in its cohesion.